I love myself a cake. Especially a good layer cake. Fluffy layers separated by clouds of creamy filling, that’s really where it’s at.

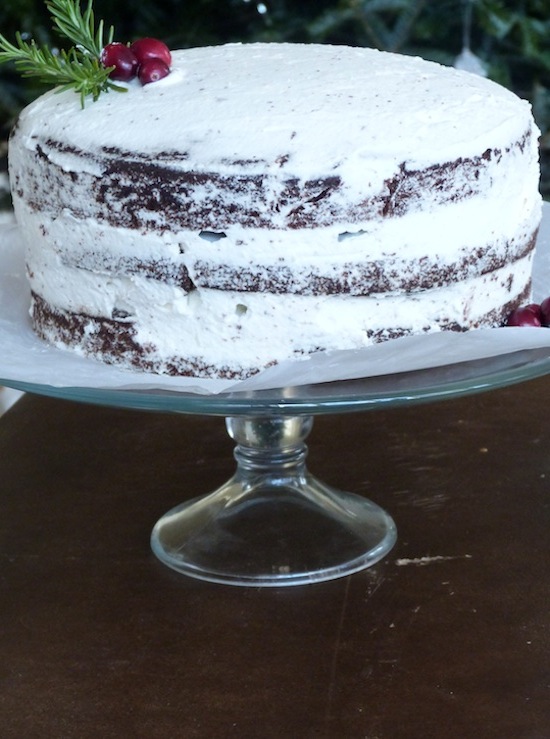
That’s why I especially like the look of a naked layer cake. You can see all of this delicious beauty from the outside. This cake is a combo of a fully frosted cake and a naked cake. I was inspired from this chocolate tahini cake. It’s so beautiful I could stare at it all day!

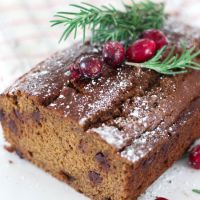
I love the rustic look of it only being partially frosted. I think it looks like a cake left out in the snow. I garnished it with a few sprigs of rosemary and a few cranberries.

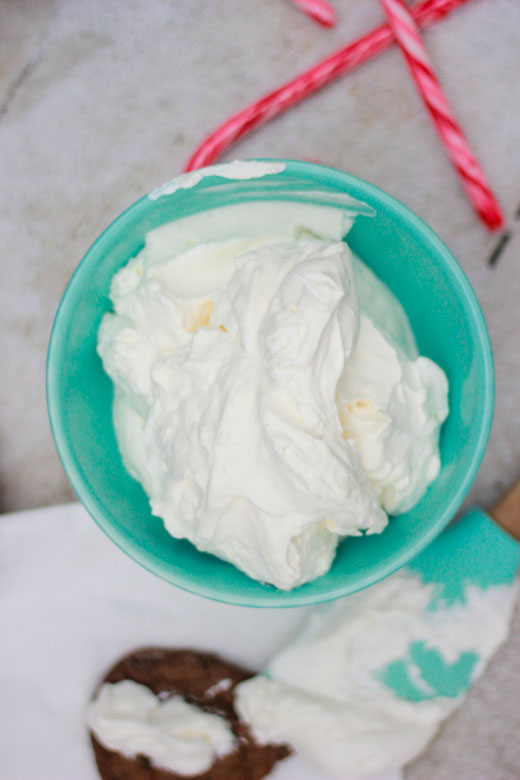
I like to use a whipped cream frosting because it’s less sweet and has an airier consistency than a buttercream. I used a great recipe for a stabilized whipped cream. Stabilizing your whipped cream is a good idea because it will be less runny and will hold up longer. The secret ingredient to stabilization is gelatin and it doesn’t change the taste or texture of the whipped cream but it’s definitely worth adding in if you aren’t planning on eating the cake immediately. You can find gelatin at the grocery store with all of the pudding and jello mixes.

Some tips when making a layer cake:
1. Measure the batter so you have exactly the same amounts in each of your cake pans for even layers.
2. Assemble the cake only when the layers are completely cool. Trust me on this. You will have a messy disaster of a cake otherwise.
3. Add the same amount of cream to each layer to have an even cake. I tend to go heavy on the whipped cream because I like the look of a thick layer of cream.
4. If your cake layers don’t come out flat and they have a slight dome to the top, once it cools carefully shave off the dome with a serrated knife. Flat layers work best because you won’t have any spaces or gaps in your cake.

Next time I want to add a fourth layer.

- For chocolate cake:
- 3 cups cake flour
- 1½ tsp salt
- 1½ tsp baking powder
- 3 tsp baking soda
- 1⅛ cup cup cocoa powder
- 3 cups sugar
- 1½ cup canola oil
- 1½cup hot strong coffee (I used a dark roast decaf and it worked great)
- 1½ cup whole milk (2% would work too)
- 3 lg eggs
- 3 tsp vanilla
- For stabilized whipped cream:
- 1½ teaspoons unflavored gelatin
- 6 teaspoons cold water
- 1½ cups heavy whipping cream (35%)
- ⅜ cup confectioner's sugar
- For the cake: Preheat oven to 350 F and grease your cake pans.
- Into a medium sized bowl sift together the flour, salt, baking powder, baking soda, cocoa, and sugar. Set aside.
- In the large bowl of a stand mixer, combine oil, coffee and milk. Slowly mix in the dry ingredients until fully combined. Add eggs and vanilla and beat on medium speed for 3-5 minutes.
- Divide batter evenly between your cake pans. Bake at 350 F for 20-25 minutes. Remove from oven and let cool.
- For whipped cream: In a small pan, combine gelatin and cold water; let stand until thick.
- Place over low heat, stirring constantly, just until the gelatin dissolves.
- Remove from heat; cool (do not allow it to set).
- Whip the cream with the icing sugar, until slightly thick.
- While slowly beating, add the gelatin to whipping cream.
- Whip at high speed until stiff.
- Assemble the cake: Place first layer on the surface you plan to servce on.
- Layer about a ¾ cup of the whipped cream on top. You can do less than this I just like a lot of cream.
- Carefully place on second layer and repeat.
- Add top layer.
- Frost the top of the cake.
- You should have some cream poking out the sides of the cake just spread around the entire cake. This is what gives it the partially frosted look. if you have to add a bit more to your knife and spread around the sides.
 Hello! My name is Christina and I started this blog to share my love of food. You can find recipes of all kinds here but I try to keep them simple and of course delicious!


{ 0 comments… add one now }